


Figuring out how to configure ApolloClient with react can be a bit confusing for beginners. Because trust me I know getting hang on graphql itself is the most difficult part. I still remember two years back when I wanted to explore graphql I was literally stuck on which path should I choose almost every language as a graphql library. The second part was there were rumors around that it is difficult to understand is tough for beginners. I agree my first time exploring graphql made me realize what kind of sorcery is this. But sticking to it for a time period makes one used to it and things start to make sense.
ApolloClient gives us the power to manage both local and remote states with GraphQL. In this post, we will cover the ways to fetch and render data using ApolloClient hooks
Creating a React app
npx create-react-app react-with-apolloclient
Setting up ApolloClient
npm install @apollo/client graphql
That's it, now our all dependencies are in place let's unleash the true power of ApolloClient.
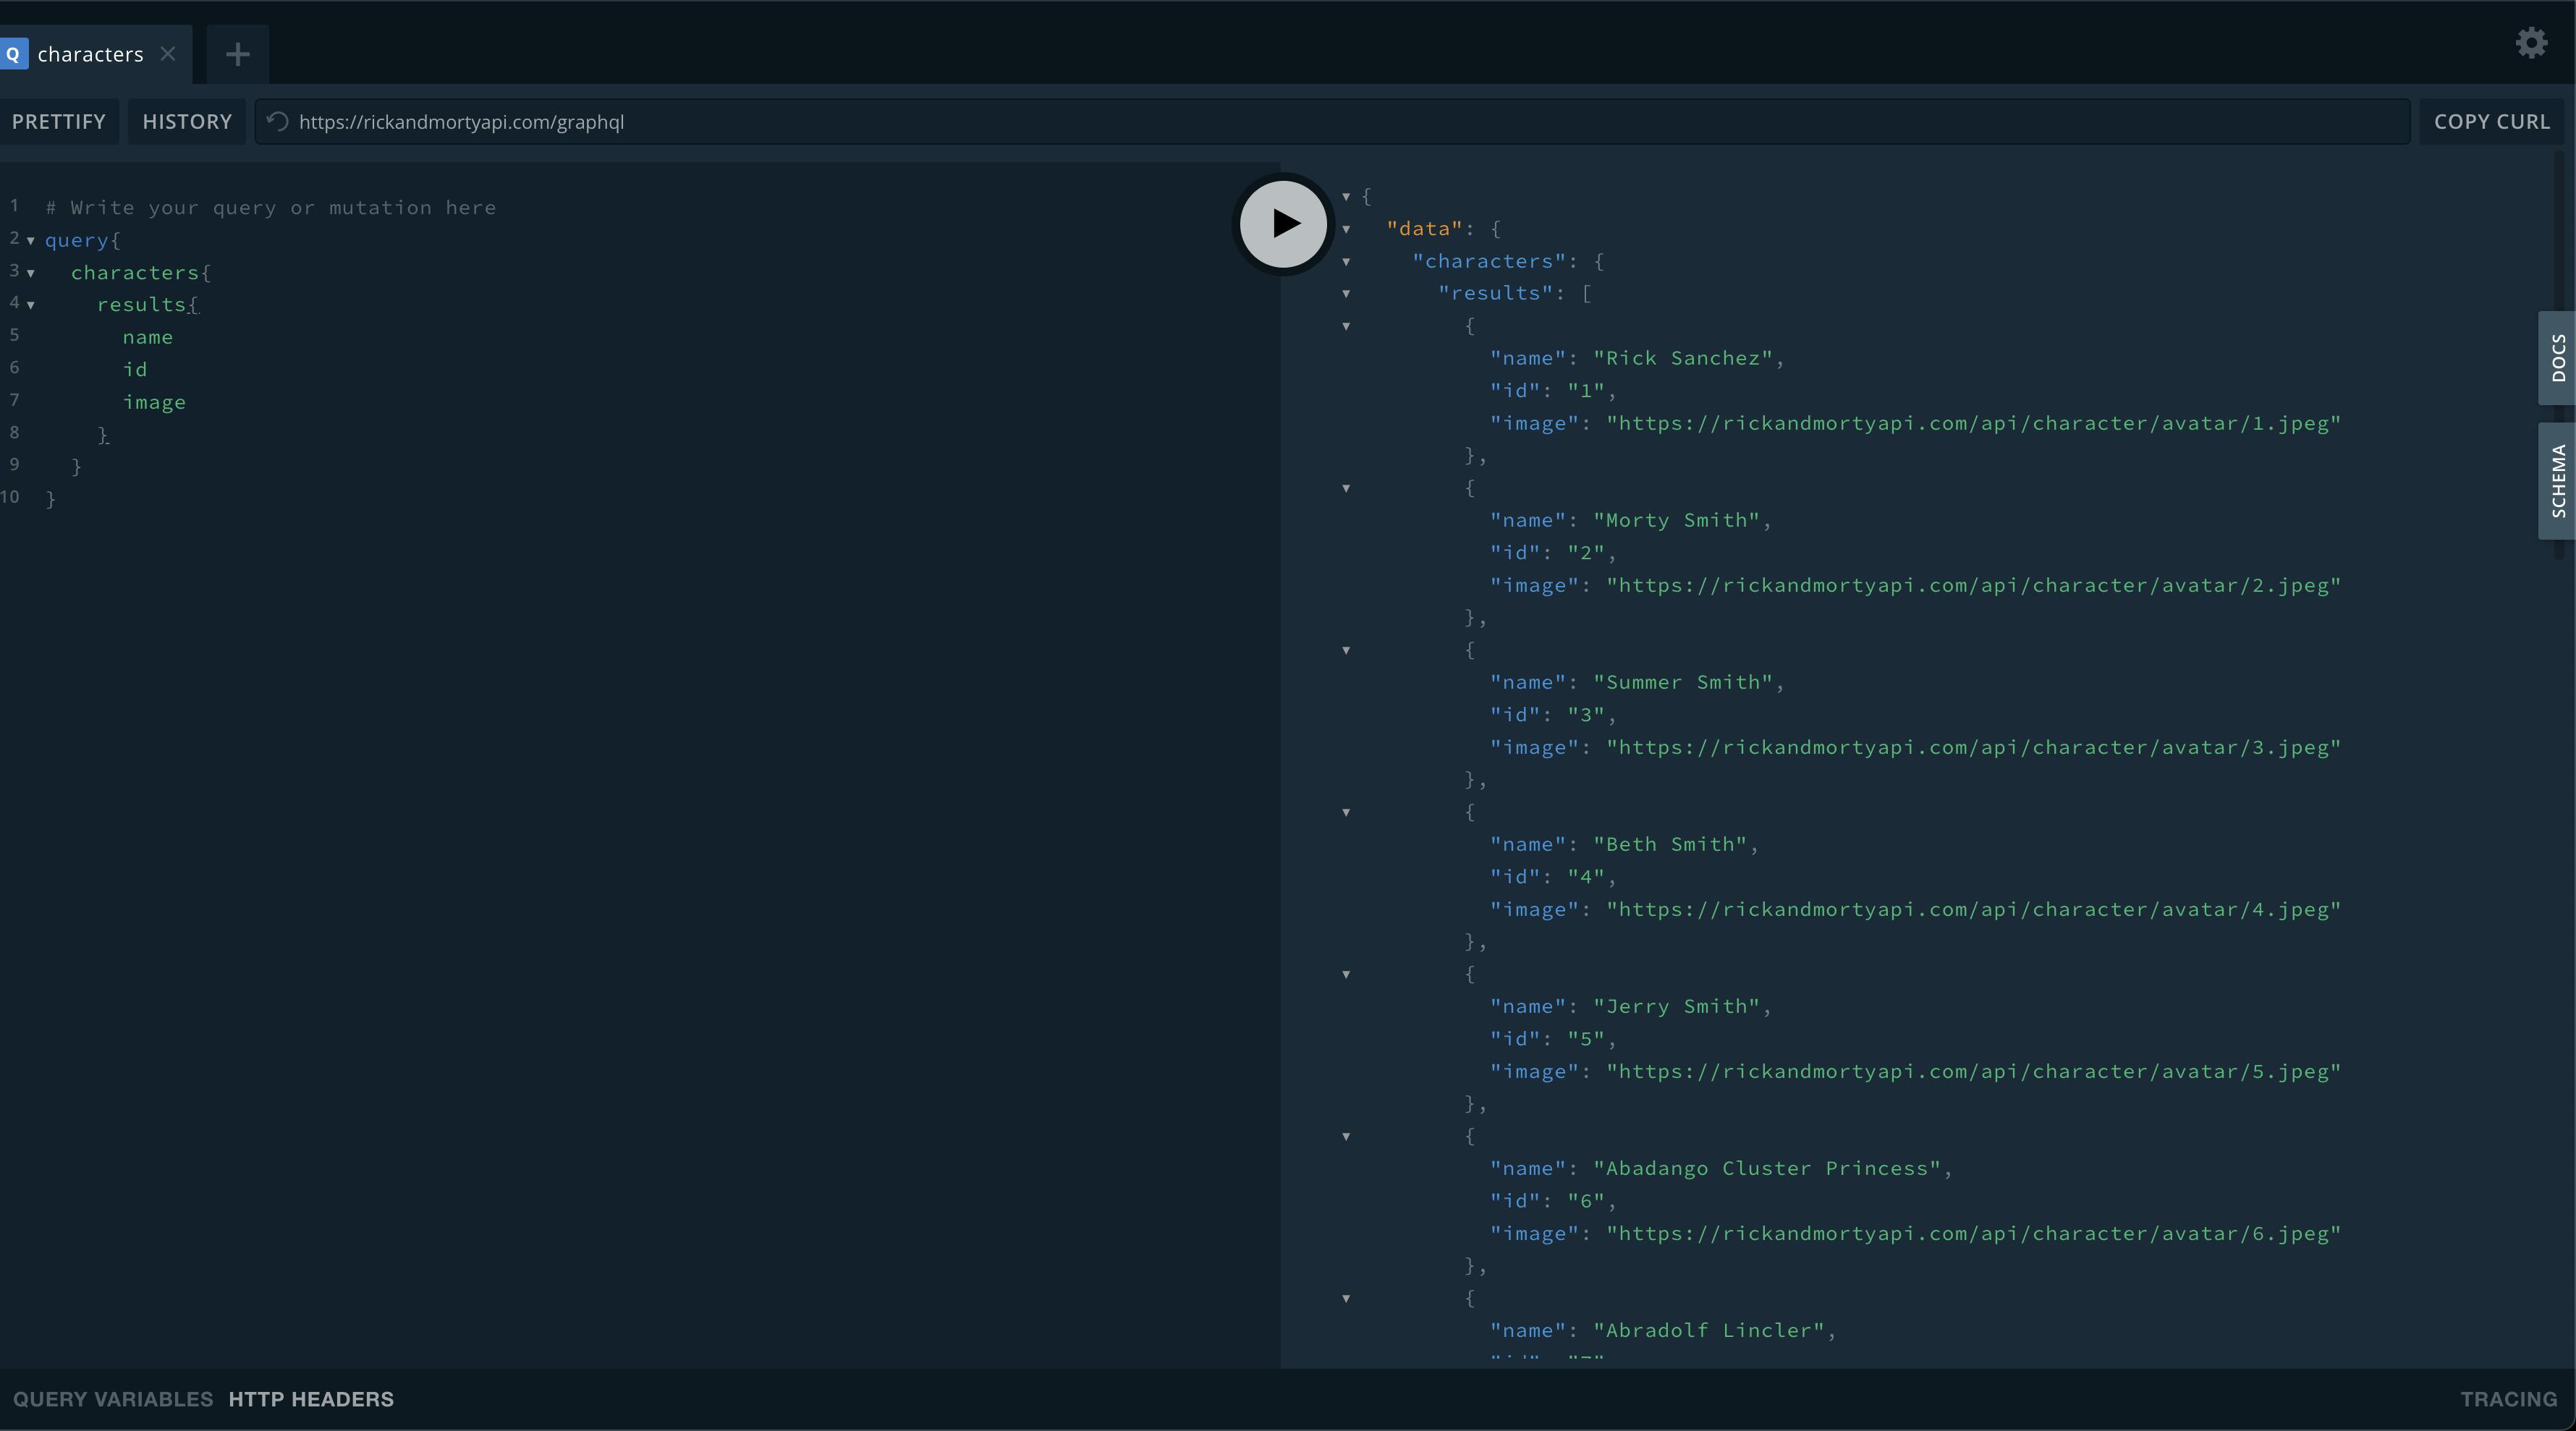
Let's connect it with an API, we will be using Rick and Morty API feel free to go ahead and play with the API it has graphql Playground to query the data and check the result.
query{
  characters{
    results{
      name
      id
      image
    }
  }
}
Setting up on the Client-side will take some more steps since we will be using hooks provided by ApolloClient. Hence we need to wrap our app with ApolloProvider in order to use these hooks.
Let's go into the index.js file and do the change.
import { StrictMode } from "react";
import { createRoot } from "react-dom/client";
import { ApolloClient, InMemoryCache, ApolloProvider } from "@apollo/client";
import App from "./App";

const client = new ApolloClient({
  uri: "https://rickandmortyapi.com/graphql",
  cache: new InMemoryCache()
});

const rootElement = document.getElementById("root");

const root = createRoot(rootElement);

root.render(
  <StrictMode>
    <ApolloProvider client={client}>
      <App />
    </ApolloProvider>
  </StrictMode>
);
Now we will be able to use hooks and query data throughout our app.
Exploring Hooks
1. useQuery
The useQuery Hook is the most common and most used for executing queries in Apollo applications. To make the magic happen pass the query string as a parameter to useQuery hook. When the magic is done it returns loading, error, and data which can be used to render on the UI.
Make sure to import gql & useQuery from @apollo/client
We need to create a query string that needs to be passed to useQuery.
const GET_CHARACTER = gql`
  query {
    characters {
      results {
        id
        name
        image
      }
    }
  }
`;
And then we can use it in useQuery in something like this
const { data, loading, error } = useQuery(GET_CHARACTER);
To have a better understanding we can console log each object and find out what it returns.
Now let's use each one to conditionally render the UI. Hence it will look something like this
import { gql, useQuery } from "@apollo/client";
import "./styles.css";

const GET_CHARACTER = gql`
  query {
    characters {
      results {
        id
        name
        image
      }
    }
  }
`;

export default function App() {
  const { data, loading, error } = useQuery(GET_CHARACTER);

  if (loading) return <p>Loading....</p>;

  if (error) return <p>Something went wrong</p>;


  return (
    <div className="App">
      {data.characters.results.map((character) => (
        <div>
          <img src={character.image} alt="char_image"/>
          <h2>{character.name}</h2>
        </div>
      ))}
    </div>
  );
}
Voila.!!!! The UI renders perfectly. Notice the Loading text. In the basic react app we may need to have a state to check the loading state same goes with the error but useQuery hooks already do this for us. As long as loading is true it renders Loading... text.
When loading is false and there is no error the query is complete and the response is loaded in the data field which can be used to populate the fields.

Similarly, there are lots of APIs which are provided by useQuery and it can come in very handy depending on the requirement. We will go through a few but not all if you need a detailed look the official docs provide a good explanation Apollo Hooks
1.1 Polling
It provides a real-time synchronization with the server by constantly executing the query at a specific interval. We can pass the pollInterval field in useQuery with the milliseconds as value.
  const { data, loading, error } = useQuery(GET_CHARACTER, {
    pollInterval: 500
  });
1.2 Fetch Policy
By default, the useQuery caches the result i.e the next time when you load the query it will be blazing fast as it caches the previous result. But what if you don't want it you can handle this setting using fetchPolicy.
  const { data, loading, error } = useQuery(GET_CHARACTER, {
    fetchPolicy: 'network-only',  // Used for first execution
    nextFetchPolicy: 'cache-first',  // Used for subsequent executions
  });
2. useMutation
We saw for fetching we use useQuery now for mutating we use useMutation. The useMutation hook is used for executing mutations in the Apollo app. It works similar to useQuery we pass in the mutation we want to execute as the parameter. But there are a few notable difference that needs to be followed when we wanna execute it.
useMutation is not executed automatically like useQuery when the page renders it will execute when you call this mutation function.
The other object provides data, loading error, etc when the mutation function is called and can be used to render the UI.
Let's take a Ricky and Morty example mutation won't work on API as we need to define schema and resolvers but let's think you have done it and you have a graphql API that can perform mutation it can be adding a todo, adding a product anything. Will try to understand by adding the Character.
The first step creating a mutation string
const ADD_CHARACTER = gql`
  mutation AddCharacter($name: String!) {
    addcharacter(name: $name) {
      id
      name
    }
  }
`;
Now, let's call the useMutation hook with its parameters.
const [addTodo, { data, loading, error }] = useMutation(ADD_CHARACTER);
After conditionally rendering UI based on data, loading, and error. The App.js will look up something like this
import { gql, useMutation } from "@apollo/client";
import { useRef } from "react";
import "./styles.css";

const ADD_CHARACTER = gql`
  mutation AddCharacter($name: String!) {
    addcharacter(name: $name) {
      id
      name
    }
  }
`;

export default function App() {
  const [addTodo, { data, loading, error }] = useMutation(ADD_CHARACTER);
  const inputVal = useRef();
  if (loading) return <p>Loading....</p>;

  if (error) return <p>Something went wrong</p>;

  const handleChange = () => {
    addTodo({ variables: { name: inputVal.current.value } });
    inputVal.current.value = "";
  };

  return (
    <div className="App">
      <h1>Add Character</h1>
      <input ref={inputVal} />
      <button onClick={handleChange}>Submit</button>
    </div>
  );
}
These are the basic things that may be needed to execute the mutation but as you knew from useQuery there are tons of useful APIs which is provided from hooks that can be used a when required useMutation
Conclusion
To sum up we first use setup the ApolloClient then we used useQuery Hook and saw some useful API it provides. Secondly, we went through useMutation and how to use it in the Apollo Application. There are other hooks like useLazyQuery, useSubscription, etc which can be used as per our requirement the underlining syntax almost remains the same you need to have a look at how it is used in docs and you can use it too.
Below is the CodeSanbox Link you can fork it and play around with for a better understanding
Happy Coding..🙌🏽🌻