


When it comes to testing I always admire Kent C Dodds and the idea of writing this blog came to me after reading tons of content he has put for fellow developers to start on their dev journey.
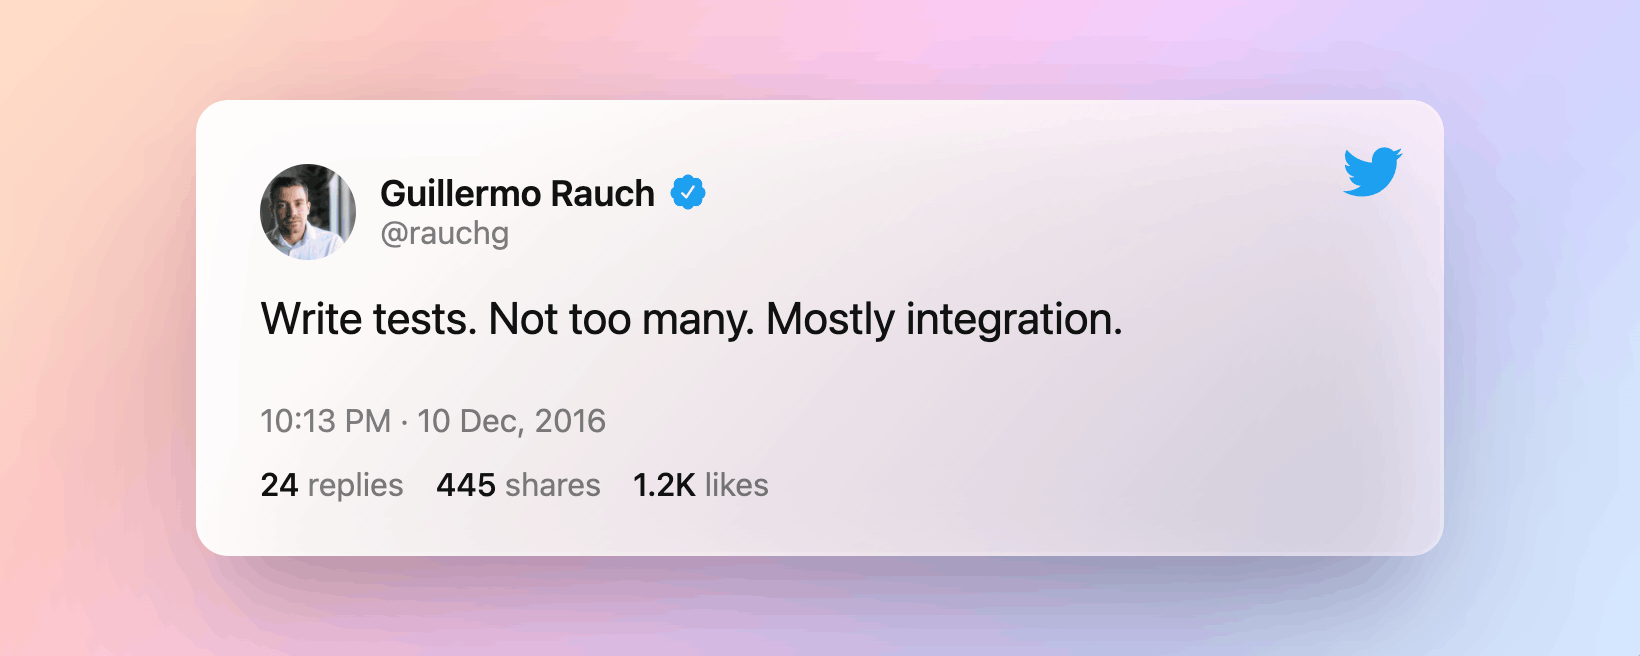
Write tests. Not too many. Mostly integration.
Guillermo Rauch is the creator of Socket.io and the founder of Vercel. (where half of the dev gods work)
I came across it when I read Kent's Blog on Write tests. This is one line that tells everything which needs to be understood. Let's try to decode it.
Write test
But why should we actually write tests?
We all have encountered bugs in our code. No matter how proficient you are you end up having a few bugs 🤬 in your code. Bugs are BAD end of discussion.
As a developer, it's our job to defend our code with equal passion. If the code fails at the user it means as a dev we failed to do our best job.
One thing as a dev you will see when you will be writing a test is the level of confidence it brings in. It is always not about writing test cases well there is a Static test case that includes ESLint or using TypeScript. But this won't ensure that logic behind the code is free of bugs.
Not too many.
Once you start writing test case the next logical question would be how many test cases should I write
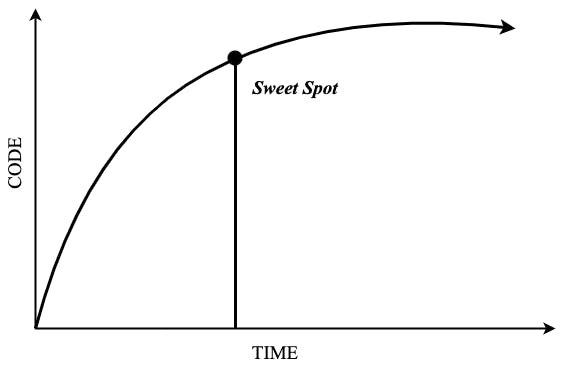
What I have experienced is when you start writing test cases in a very short period of time you will see a lot of coverage happening. But there will be a time when suddenly the amount of time it took to write will get doubled. It becomes difficult to write more and you may start thinking whether it's really worth spending so much time.
So there is not any number on when you should but the perfect answer is it depends if it's a startup we can stop inside the sweet spot or if you want end to end then you can go beyond the sweet spot. ( Don't compare the graph it's just for reference. The graph makes things look cool. Right?😂 )
Mostly integration.
Well, there are many forms of testing and each one comes with its own pros & cons. For Example, if we do static tests it doesn't cost anything you fix everything ESLint and prettier but if you want to do Integration you need to have a Quality Assurance Engineer at your side you make need to pay him also Integration Testing takes time. Some common and most followed testing approaches are Unit, Integration & End to End.
This slide for Kents Testing Javascript Workshops defines a lot of things.
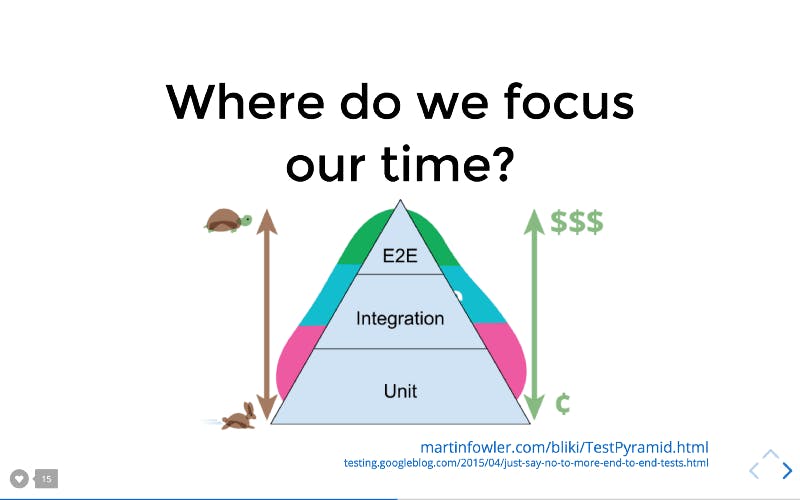
As we move from the Unit to End-to-End the cost to test increases drastically the reason is simple it takes time to do these tests.
But as we move to the top you will see the confidence gets increase as well. Even though it takes too much time but it also brings too much confidence. And you could sleep peacefully when your code is deployed to production. 😉
Since we got some understanding of why testing your code is so important let's dive into your react app and write a few test cases. For testing the React components even the official docs provide two recommended tools Jest and react-testing-library
From the header, you may have already known we will be going with react-testing-library but Jest is something you should know down the line.
If you are setting your app using create-react-app then jest and react-testing -library comes in build.
The one thing with RTL(react-testing-library) is that the utilities which it provides are the same as what a user will be doing in your app. If there is an input box that expects input from the user using rtl we can get the input box to add text and let says we want to click a button we can do that. Isn't that AWESOME.
Diving into RTL.
Let's go with the basic example which is the tradition when you learn something new i.e Counter.
import { useState } from "react";
import "./styles.css";

export default function App() {
  const [count, setCount] = useState(0);
  return (
    <div className="App">
      <h1>Counter</h1>
      <h2>{count}</h2>
      <button data-testid="increment" onClick={() => setCount(count + 1)}>
        +
      </button>
      <button data-testid="decrement" onClick={() => setCount(count - 1)}>
        -
      </button>
    </div>
  );
}
It's just a bare minimum counter having two buttons that users can interact with.
Let's see the test file.
import React from "react";
import { render, fireEvent, screen } from "@testing-library/react";
import App from "./App";
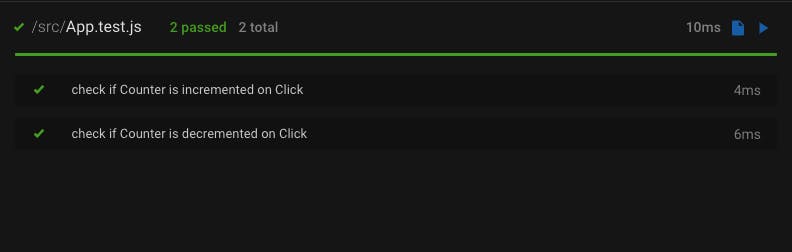
test("check if Counter is incremented on Click", () => {
render(<App />);
fireEvent.click(screen.queryByTestId(/increment/i));
const countValue = screen.queryByText(1).innerHTML;
expect(countValue).toBe("1");
});
test("check if Counter is decremented on Click", () => {
render(<App />);
fireEvent.click(screen.queryByTestId(/increment/i));
fireEvent.click(screen.queryByTestId(/decrement/i));
const countValue = screen.queryByText(0).innerHTML;
expect(countValue).toBe("0");
});
The test should be written in a way that matches what the user will mimic.
You make notice that to fetch the button we are using data-tested this is something which is suggested. Instead of getting the button by its role or text. It is always good to abstract it and use a test id. Later down the line, you might change the text but it won't affect the test cases.
When we go through the first test it checks whether the increment is done or not. So after clicking the button if we see 1 on-screen it means we passed the test or else it will fail this test case.
The fireEvent API is the one that handles mouse and keyboard events. There is also a user event API that can be used for all kinds of things that a user will do.
expect(counterValue).toBe("1")
It is equivalent to equal to operator which check if counterValue == "1".
Going through the second test case it checks the value after we click on decrement. So first it is incremented the value is "1". Now we click on the decrement button using decrement test id.
Its time to check the counter value so logically it should be 0, so we do
expect(counterValue).toBe("0")
And if it matches it passes the test case It will pass.
Some must-know things are if we use query* it will return back the element or if not found it will return null. But if you use get* to get element from the screen if found it will return the element but if not found it throw the error.
So if you are testing the element based on to be null or to not be null i.e if present or not present using query* makes a lot of sense.
codesandbox.io/s/react-testing-example-ymmb..
Free feel to fork this CodeSandbox and tweak it by yourself. You can read about the library and its API in the [official docs (github.com/testing-library/react-testing-li..).
Must read blogs :
kentcdodds.com/blog/the-testing-trophy-and-..
kentcdodds.com/blog/how-to-know-what-to-test
kentcdodds.com/blog/common-mistakes-with-re..
Happy Coding. 🙌🏽